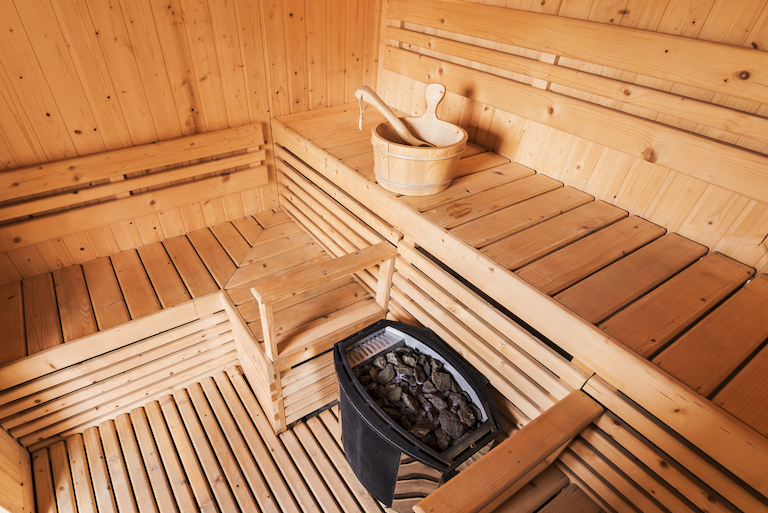
How to Make Your Sauna Leak-Proof: A Step-by-Step Guide to Lasting Durability
By Space Coast Daily // December 22, 2024

A sauna is a valuable addition to your home or property, providing relaxation, improved health, and a luxurious escape from everyday stress. However, a leaking sauna can quickly turn into a nightmare, damaging your property and diminishing the sauna’s performance. The good news is that you can make your sauna leak-proof with the right materials, construction techniques, and maintenance practices. In this blog, we’ll cover everything you need to know about preventing leaks in your sauna, whether it’s a barrel, log cabin, or modern cube design.
1. Understand the Common Causes of Sauna Leaks
Before you can make your sauna leak-proof, it’s essential to identify the main culprits behind leaks:
■ Improper Sealing: Gaps between wood panels or around doors and windows.
■ Warping of Wood: High heat and moisture can cause wood to expand and contract over time.
■ Improper Drainage: Water buildup beneath the sauna or in the foundation.
■ Roof or Wall Damage: Cracks or weak spots in the structure.
2. Choose High-Quality Materials
The foundation of a leak-proof sauna starts with selecting the right materials:
Wood: Use durable, rot-resistant wood like cedar, spruce, or hemlock for walls and benches.
■ Sealants: Opt for water-resistant sealants specifically designed for saunas, as regular wood sealants may not withstand high temperatures.
■ Roofing Materials: Ensure the roof is made of weather-resistant materials like asphalt shingles or metal.
3. Apply Proper Insulation and Vapor Barriers
Insulation is key to maintaining the heat inside your sauna and preventing moisture from escaping into the surrounding areas:
■ Install foil vapor barriers behind the sauna walls to stop moisture from seeping out.
■ Use high-quality insulation boards between the vapor barrier and the external walls for added protection.
4. Seal Joints and Gaps Carefully
Leaky saunas often result from poorly sealed joints and gaps:
■ Apply a high-temperature silicone sealant to all joints, corners, and seams, especially around doors and windows.
■ For barrel saunas, ensure the staves are tightly fitted and secured with stainless steel bands to prevent gaps.
5. Install a Proper Drainage System
A good drainage system prevents water from accumulating:
■ Floor Drainage: Ensure the floor has a slight slope leading to a drain. Use non-porous materials like tile or sealed concrete for the sauna floor.
■ Outdoor Placement: If your sauna is outdoors, place it on a gravel or concrete base to direct rainwater away from the structure.
6. Waterproof the Roof
A leaky roof can compromise the entire sauna:
■ Inspect the roof for cracks or weak spots regularly.
■ Use roofing felt or rubber underlayment for extra waterproofing beneath the shingles.
■ Ensure the roof has proper overhangs to direct rainwater away from the sauna walls.
7. Conduct Routine Maintenance
Even the most well-built sauna requires regular upkeep to stay leak-proof:
■ Check for signs of wear and tear on seals, wood panels, and roofing materials.
■ Reseal gaps or apply additional sealant every 1-2 years, depending on usage.
■ Clean the sauna regularly to prevent mold and rot.
8. Professional Leak-Proofing Services
For those who want extra assurance, consider hiring professionals to inspect or build your sauna. Many sauna companies, like SaunaDepot.ca, offer expert installation and maintenance services to ensure your sauna remains leak-free for years to come.
By following these steps, you can ensure your sauna stays leak-proof, offering years of relaxing and stress-free enjoyment. A little preventative maintenance goes a long way in preserving your investment and preventing costly repairs down the road. Ready to upgrade or maintain your sauna? Contact SaunaDepot.ca today for expert advice and solutions tailored to your needs!


