Roblox Shirt Template Hacks: Design Like a Pro in Minutes
By Space Coast Daily // September 16, 2024
Roblox offers more than just a gaming experience; it provides a vast canvas for creativity, particularly appealing to those who wish to design their apparel.
Among the most engaging features for budding designers and enthusiastic gamers is the capability to craft custom shirts. With a handful of valuable tips and some creativity, anyone can quickly learn to design visually appealing Roblox shirts that add a unique flair to their gaming avatar.
Understanding the Fundamentals of Roblox Shirt Design
Before you start creating your own designs, it’s crucial to understand the fundamental aspects of creating a Roblox shirt. The platform uses a template outlining designated areas for the shirt’s front, back, and sleeves. By familiarizing yourself with this template, you ensure that your designs are aesthetically pleasing and correctly aligned with the avatar’s form, enhancing the overall appearance in the game environment.
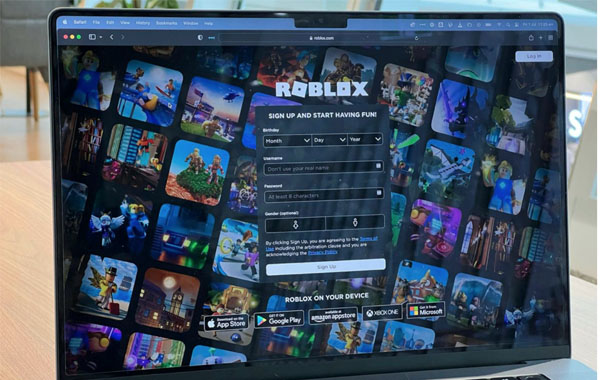
Utilizing the Official Roblox Template
Your design journey starts with the official Roblox shirt template on the website. This template serves as a blueprint, showing where to place your designs for optimal fit. Using this structured guide helps you apply your designs precisely where they should be, ensuring they look intended once worn by an avatar.
Embellishing the Template with Personalized Graphics
The real magic happens when you modify the template with your creative designs. Whether you opt for simple patterns or more elaborate graphics, maintaining clarity and visibility is the key to a successful Roblox shirt design. Intricate details might look good on design software but can lose their appeal in the dynamic Roblox world, so creating with the game’s visual dynamics in mind is essential.
Mastering Layers for Intricate Designs
Mastering layers in your software is essential for those aiming to create more sophisticated designs. Layers enable you to manipulate different elements of your shirt separately, allowing for detailed customization without altering other design parts. This approach is beneficial when working on complex patterns that require fine-tuning on different shirt sections.
Previewing Your Design in Roblox Studio
Before finalizing your design, it is crucial to upload it into Roblox Studio for a test run. This allows you to see how your design interacts with an avatar and make necessary adjustments. Sometimes, what looks good in the editing software might not translate as well on a moving avatar, making this step indispensable for achieving the best results.
Saving, Uploading, and Marketing Your Design
Once your design meets your satisfaction, save it as a PNG file to maintain transparency, then upload it to Roblox, keeping in mind the small Robux fee required for uploading content. After uploading, you can keep your designs exclusive to your use or put them up for sale, setting a price based on the design’s uniqueness and appeal. Selling your designs is a great way to earn Robux and increase your visibility within the Roblox community.
Designing custom shirts on Roblox is a creative outlet and a chance to personalize your gaming experience uniquely. By integrating these straightforward steps and harnessing practical design tools, you can quickly become proficient in shirt design, enhancing your and possibly other players’ Roblox journey. Embrace the opportunity to let your creativity flow and see where it takes you in the expansive world of Roblox.